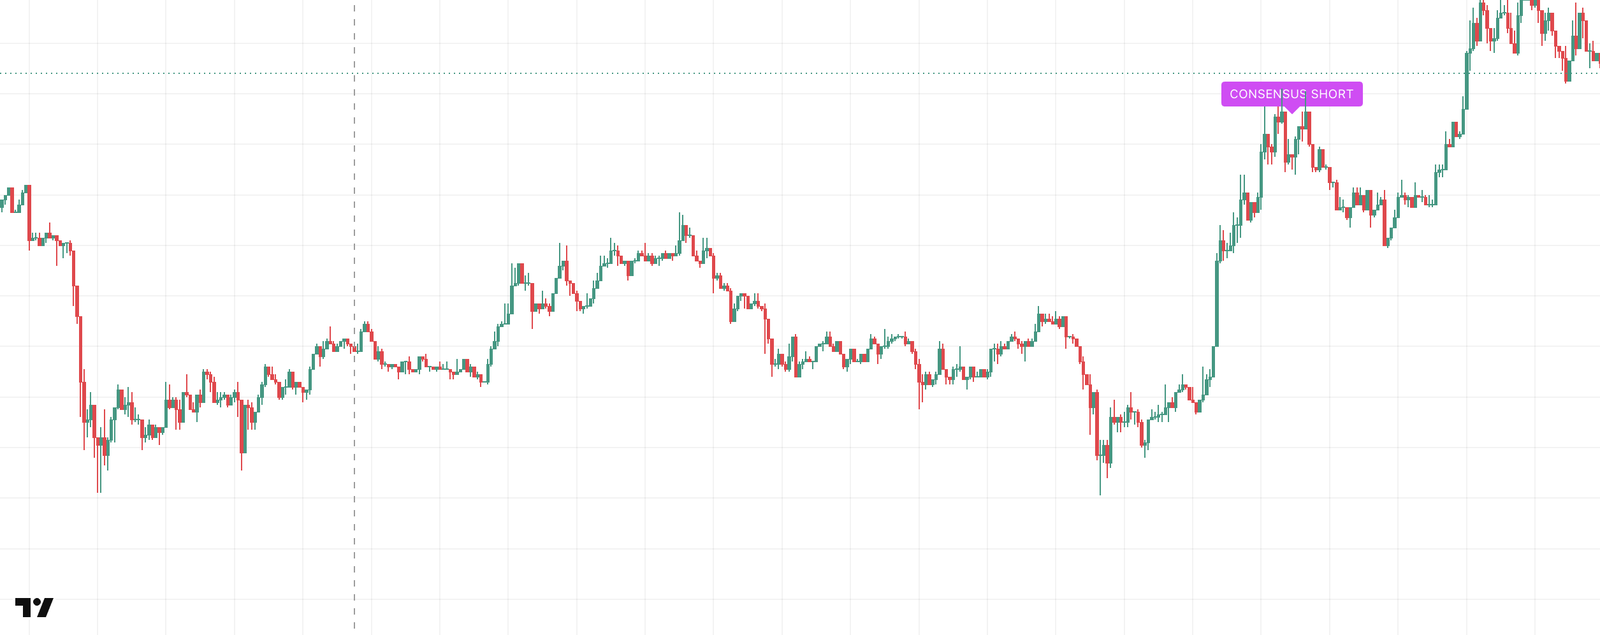
CONSENSUS
The main signal. A FADE confirmed by other components within a short window of bars.
CONSENSUS is a FADE event that other components agree with. It's the rarest label on the chart and the one the strategy enters on by default.
How it's calculated
On every bar the indicator counts, per direction, how many enabled components fired within the last W bars. CONSENSUS appears when that count reaches the threshold and the FADE role is satisfied.
W is the check window, the threshold comes from Condition logic, and the FADE role from FADE role in CONSENSUS.
With the default role Required, CONSENSUS can only appear on the bar of a FADE event. That makes every CONSENSUS label a subset of the FADE labels. With the other roles the label goes on the first bar where the threshold is reached; otherwise it would repeat on every bar of the window.
CONSENSUS uses the components' events, not their labels. You can hide the FADE, RSI and divergence labels and CONSENSUS keeps working.
Settings
Group 🤝 CONSENSUS — main signal.
| Input | Default | What it does |
|---|---|---|
| Show CONSENSUS signals | on | Shows the CONSENSUS SHORT / CONSENSUS LONG labels. Turning it off hides the labels only. |
| Condition logic | Any two (AND) | The confirmation threshold. Any two (AND): any two enabled components. All required (AND): every enabled one. Any one (OR): one is enough. |
| RSI | on | The RSI signal counts as a component. |
| Divergence | on | A divergence counts as a component. |
| MACD | off | The MACD signal counts as a component. |
| ZONE | off | The ZONE signal counts as a component. |
| FADE role in CONSENSUS | Required | Required: a FADE event must happen on the same bar and isn't counted as a component. Component: FADE counts like the others, anywhere in the window, with no tie to its bar. Off: FADE plays no part. |
| Auto check window | on | Picks W for the chart's timeframe: a shorter window on the fastest timeframes, a longer one on the hourly and 4-hour charts. Off: the manual value below applies. |
| Check window (manual, bars) | 10 | How many recent bars a component counts as "fired". A wider window gives more CONSENSUS labels, with older confirmations behind them. |
| Label gap from FADE labels (ATR) | 1.0 | Vertical gap between a CONSENSUS label and a FADE label on the same bar, in ATR(14), so it doesn't collapse on tiny bars. 0 puts the labels on top of each other. |
Watch out for
- One component and
Any two (AND). With a single component enabled, the "two" threshold can never be reached and the signal disappears without any warning. With one component,All requiredandAny oneare the same thing; with two,All requiredequalsAny two. - The default count is two of RSI and Divergence. MACD and ZONE are off. So by default a CONSENSUS label means: FADE on this bar, plus both an RSI exit and a divergence within the window.
- The strategy has its own copy of these inputs in its group 🤝 CONSENSUS settings, with MACD on by default there. See Strategy inputs.
Bottom line: leave the defaults for the first week. If you want more labels, widen the window or switch MACD on before you touch the zone.